The Mold Removal Process: A Step-by-Step Guide
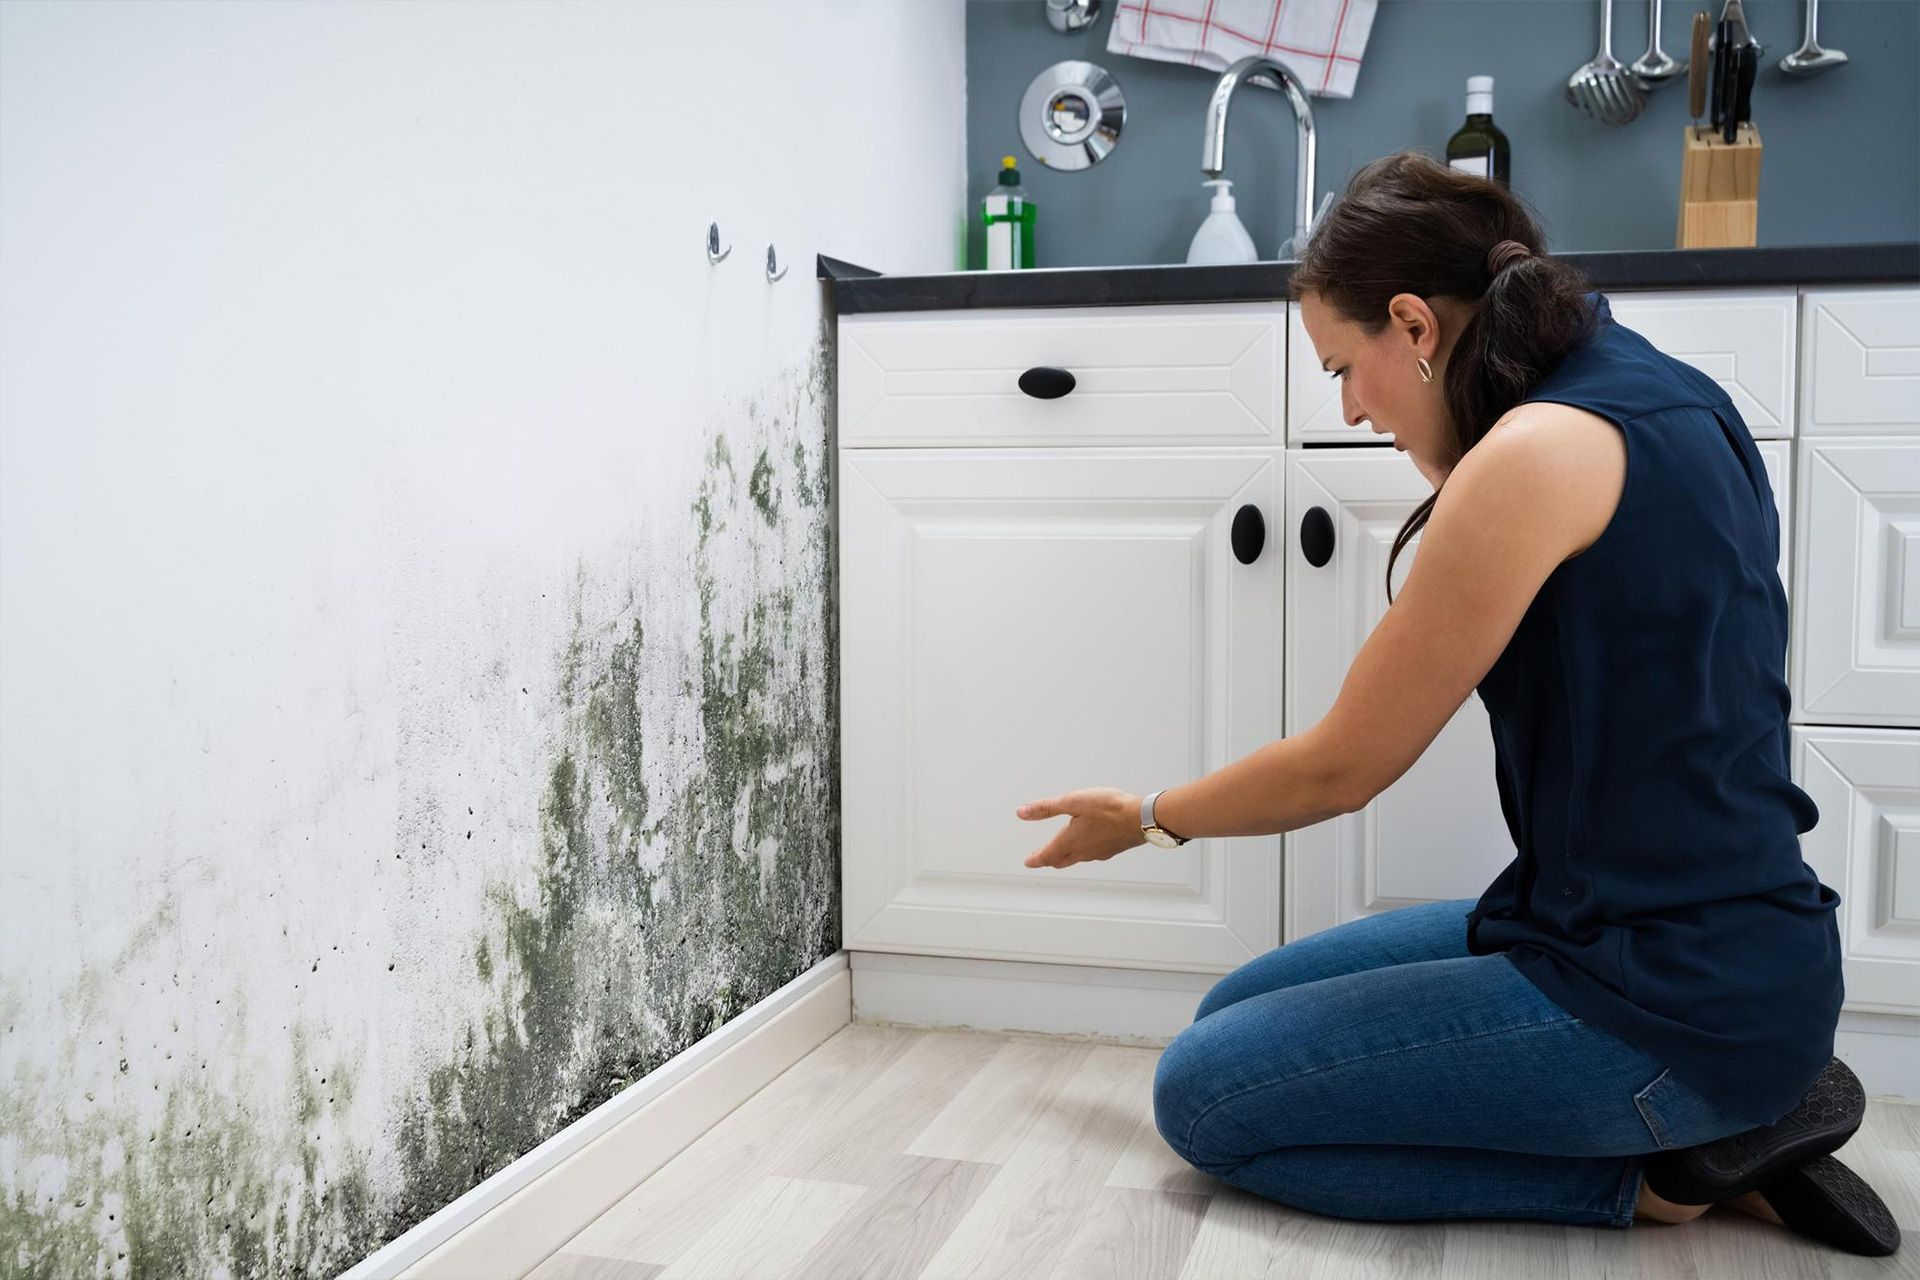
Finding mold in a home can be stressful, especially when the affected area is larger than a small spot or moisture has been present for a long time. The right response is not simply to spray the visible growth and cover it with paint. Effective cleanup starts with understanding why mold appeared and how far the moisture problem extends. A professional mold inspection and testing service can help evaluate mold and moisture concerns and guide next steps.
The mold removal process usually includes assessing the affected area, fixing the water source, controlling the work zone, removing or cleaning damaged materials, drying the space, and checking conditions before completing repairs.
This guide explains the usual sequence in simple terms so homeowners can understand what professional remediation may involve and what questions to ask.
Step 1: Find The Moisture Source First
Mold needs moisture to grow. Cleanup should therefore start with the water problem, not the stain itself.
The source may be a plumbing leak, roof leak, foundation seepage, condensation, high indoor humidity, appliance failure, or water left after flooding.
Before cleanup moves forward, correct the source when possible. Otherwise, cleaned or replaced materials can become damp again and the problem may return.
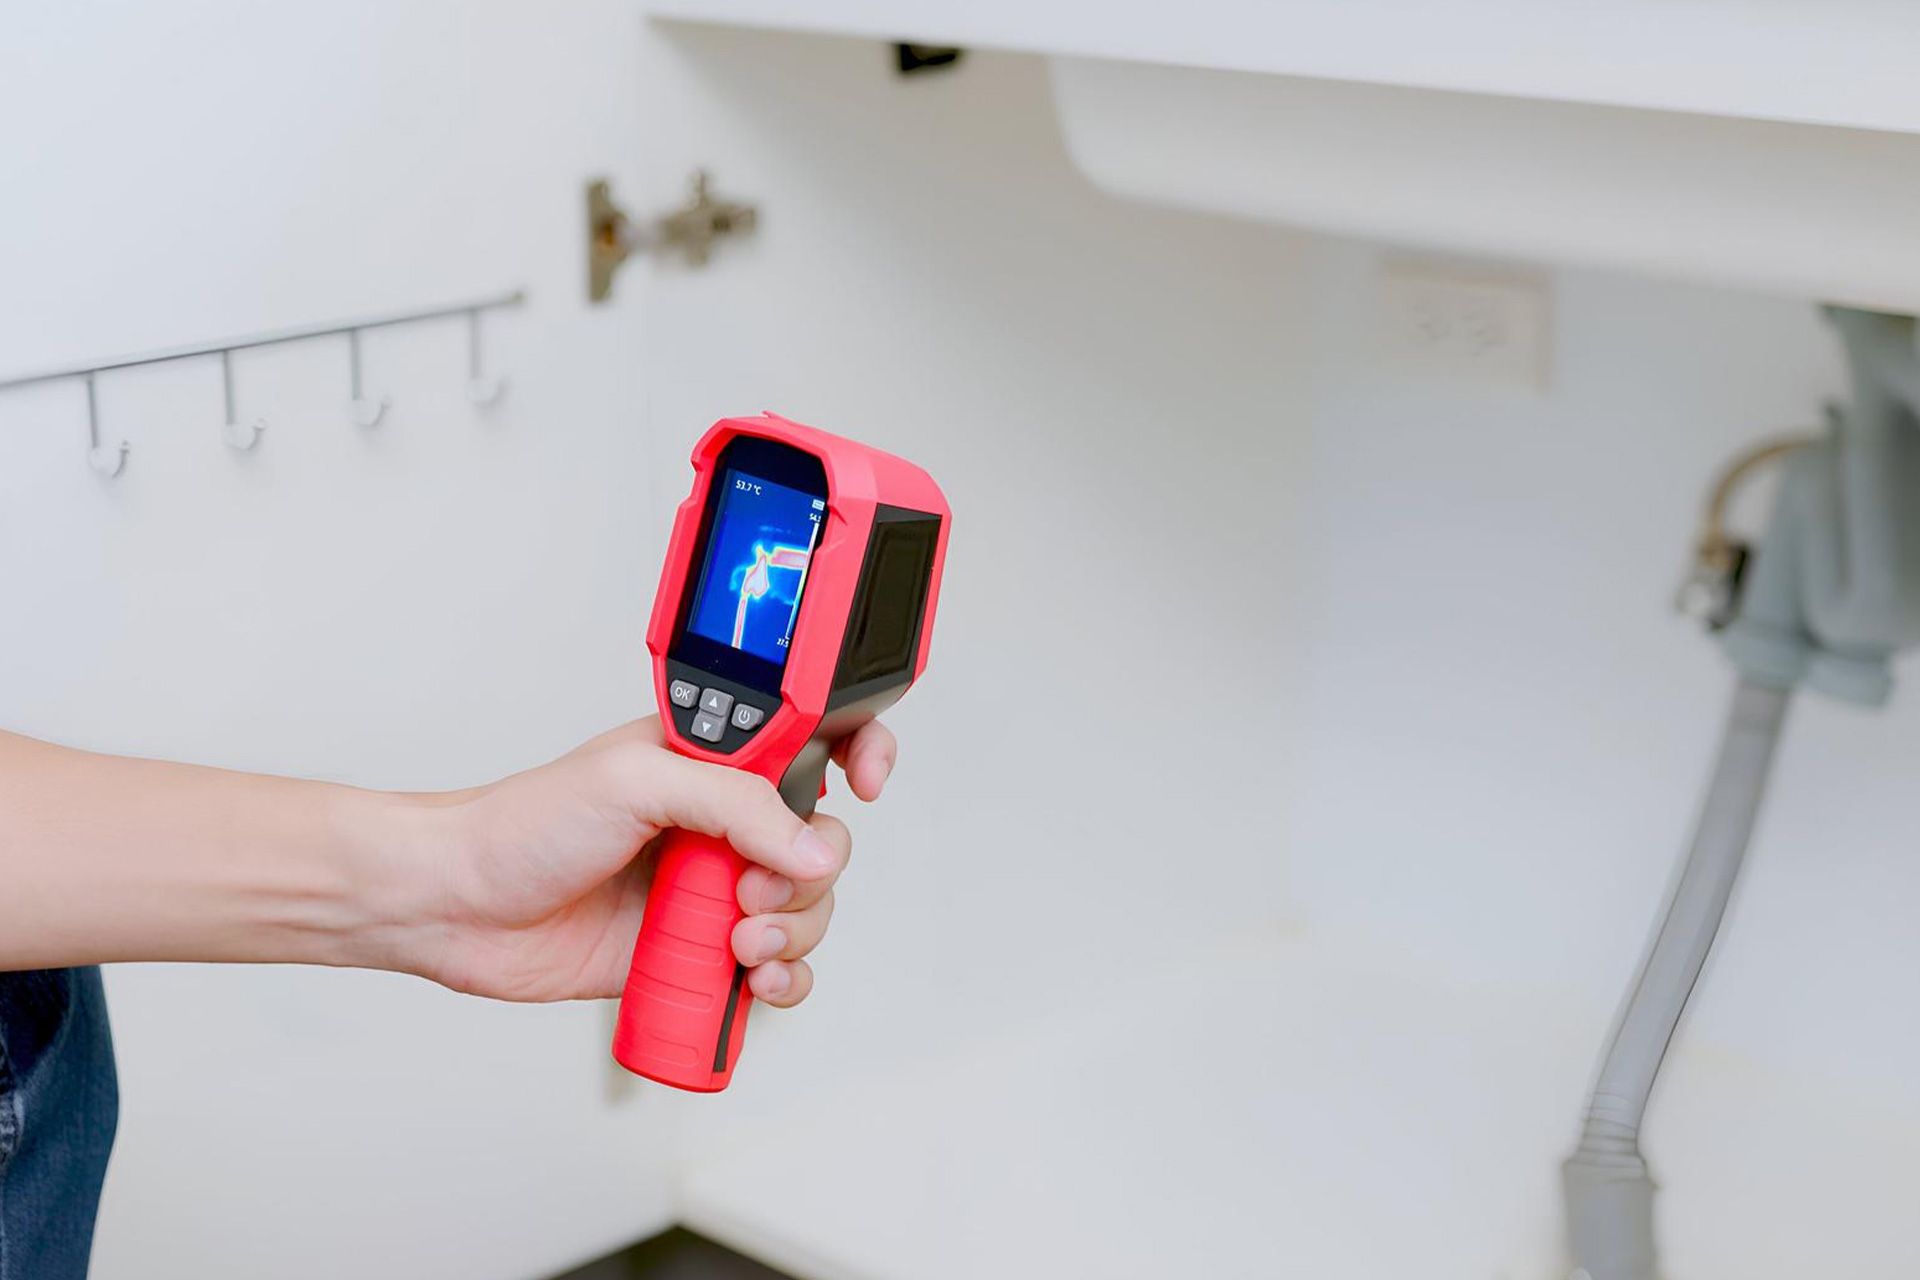
A good mold abatement process starts by asking whether the leak is active, how long materials stayed wet, and whether moisture moved into walls, insulation, flooring, or other concealed areas.
Step 2: Determine The Size Of The Problem
Next, you need to understand the affected area.
A small patch of surface growth is different from widespread contamination after a major water event. An evaluation may consider visible growth, staining, damaged materials, musty odors, and signs that moisture has spread beyond the first area noticed. Understanding what a home inspection can reveal about mold can help you decide when a separate mold assessment may be needed.
The type of material matters too. Hard surfaces can often be cleaned more easily. Porous materials such as drywall, insulation, carpet padding, and some ceiling tiles may be difficult to clean completely after mold grows into them.
Step 3: Separate The Work Area
When you disturb moldy materials, spores and dust can move into nearby rooms. Containment helps limit that spread.
For smaller projects, you may separate the work area with plastic barriers. Larger jobs may use negative air pressure, so air moves toward the contained space instead of escaping from it.
Containment is especially important when you cut or remove drywall, insulation, flooring, or other materials. The goal is to keep demolition debris and airborne particles limited to the work zone.
Step 4: Use The Right Protective Equipment
Mold cleanup can expose workers to spores, dust, damaged building materials, and cleaning products. Protective equipment should match the project's size and complexity.
Depending on conditions, workers may use gloves, eye protection, protective clothing, and respiratory protection. Larger jobs can require more extensive protection than a small surface cleanup.
Step 5: Remove Materials That Cannot Be Saved
Not every affected material can remain in place.
Porous materials absorb moisture and can allow growth to extend below the surface. When heavily affected, you may need to remove sections of drywall, insulation, carpet padding, ceiling tiles, or other absorbent products.
Handle disposal materials carefully and contain them before carrying them through unaffected areas.
This stage of the mold removal process isn't about stripping an entire room unnecessarily. The goal is to remove materials that cannot reasonably be cleaned and dried while preserving sound materials when appropriate.
Step 6: Clean Surfaces That Can Remain
After removing damaged materials, remaining surfaces may need detailed cleaning.
Hard surfaces can often be cleaned using suitable methods and then dried completely. Use HEPA vacuuming on dry surfaces to collect fine particles.
Simply killing mold is not the same as removing it. Dead particles can remain on surfaces, so physical cleaning matters. Bleach is not a universal solution and shouldn't be the default for every material.
A proper mold abatement process focuses on removing contamination and controlling moisture rather than trying to sterilize an entire building.
Step 7: Manage Airborne Dust And Spores
Air filtration can support containment while crews remove or clean affected materials.
Professional crews may use HEPA-filtered air scrubbers and HEPA vacuums to capture small particles.
Running an air cleaner while leaving wet drywall or an active leak in place will not solve the underlying problem. Filtration works best as one part of a larger cleanup plan.
Step 8: Dry The Area Before Repairs Begin
Drying is a critical part of remediation.
Do not install new drywall, insulation, trim, flooring, or paint over damp building materials. Moisture trapped behind new finishes can create another environment for growth.
Drying may involve dehumidification, controlled airflow, removing wet materials, or other methods, depending on the property.
Don't consider the space ready for reconstruction just because the surface looks dry.
Step 9: Check Whether Cleanup Goals Were Met
Before rebuilding, review the remediated area.
The moisture source should be corrected. Visible growth and contaminated debris should no longer remain in the cleaned area. Materials intended to stay should be dry, and persistent musty odors should not remain.
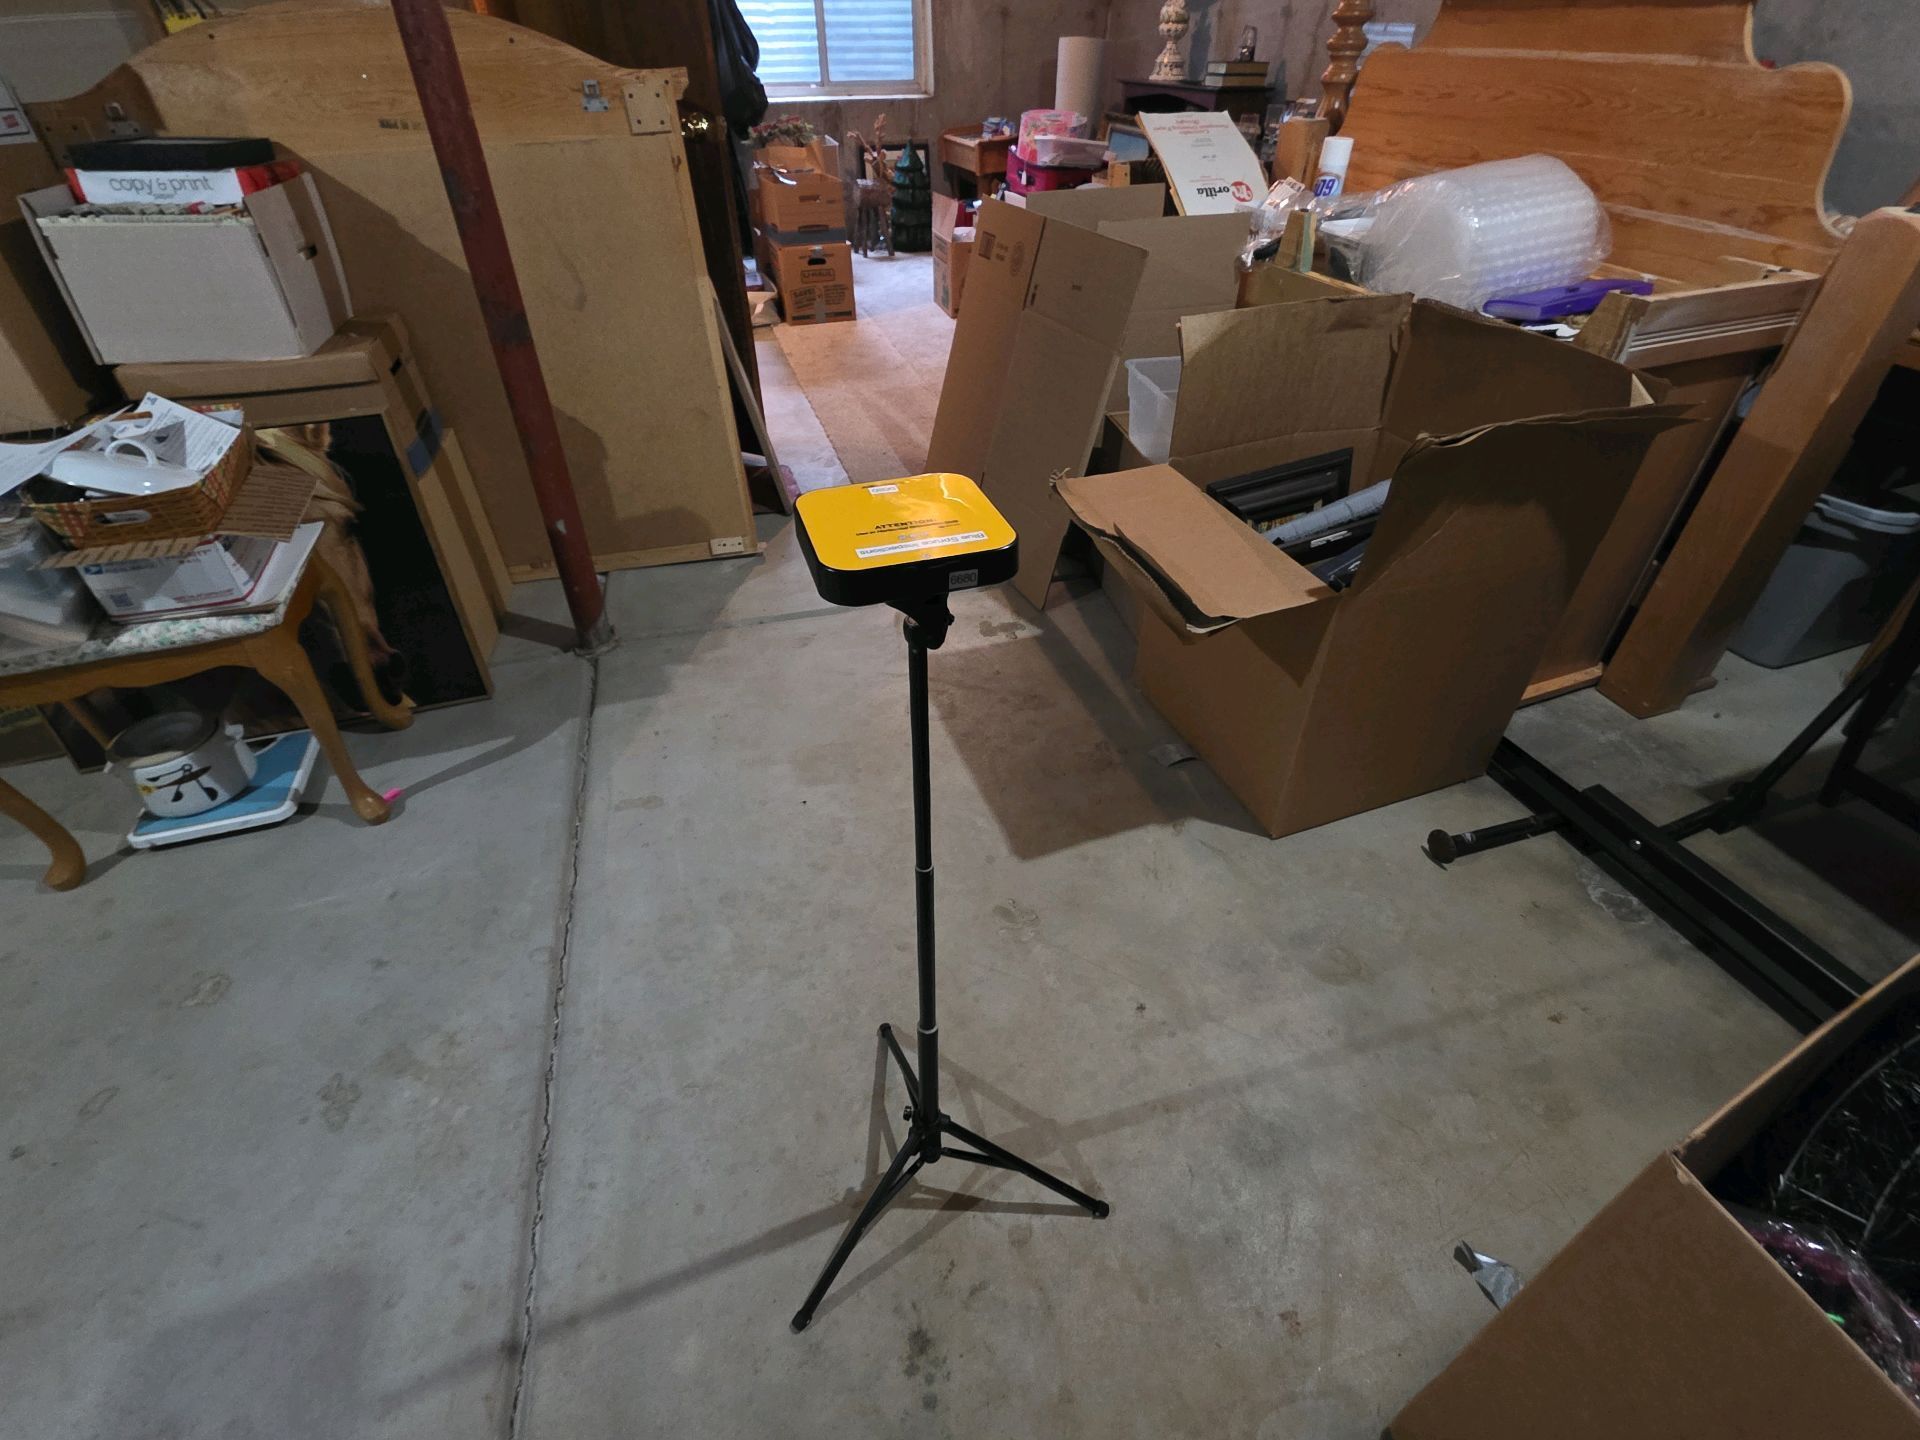
In some situations, a separate post-remediation evaluation or sampling may be useful. Testing isn't automatically required for every project, and air sampling shouldn't replace visual review and moisture control.
Step 10: Restore The Damaged Area
Once the area is clean and dry, you can begin restoration.
A small project may require replacing only a section of drywall and repainting. A larger water event may involve insulation, flooring, cabinets, trim, or other materials.
Restoration should come last. Covering damaged materials before addressing moisture and contamination can hide the problem instead of solving it.
Common Mistakes Homeowners Should Avoid
A few common responses can make a mold problem harder to resolve:
- Painting over visible growth: Paint doesn't fix a leak or remove contaminated material. The problem may continue behind the new finish.
- Opening a large affected area without containment: Cutting or tearing out materials can release dust and spores into nearby rooms.
- Relying only on strong chemicals: Cleanup depends on removal, cleaning, drying, and moisture control, not simply applying a chemical product.
- Rebuilding too soon: Installing new materials before the area is dry can trap moisture and create conditions for future growth.
How Long Can Mold Remediation Take?
There is no single timeline for every property.
A small, contained area with a repaired leak may require far less work than a multi-room problem caused by flooding or long-term water intrusion. Drying time, accessibility, demolition, repairs, and reconstruction all affect the schedule.
Focus on completion conditions rather than a promised number of days. Control the moisture source, dry the materials, address affected areas, and prepare the space for safe restoration.
When Professional Help Makes Sense
Some small areas may be manageable for homeowners who understand proper cleanup and protection. Larger areas, recurring growth, hidden moisture, major water damage, or suspected HVAC contamination can require more expertise.
A professional home inspector may help with a mold inspection when the water source is unclear or when removing materials could expose concealed damage.
Base your cleanup decisions on the home size, material type, moisture conditions, and safe work practices rather than appearance alone.
Conclusion
Effective mold cleanup is about more than making visible spots disappear. It starts with finding the moisture source, understanding the problem's extent, controlling the work area, removing or cleaning affected materials, drying the space, and reviewing conditions before reconstruction.
Blue Spruce Inspections can help homeowners identify visible mold and moisture concerns and understand when additional testing or remediation may be appropriate. Our team provides clear observations so you can make informed decisions about the next step.
Contact Blue Spruce Inspections today to schedule a mold inspection for your property.
Frequently Asked Questions
Is mold remediation the same as cleaning visible mold?
No. Remediation considers moisture, affected materials, containment, cleaning, drying, and the area's condition before restoration. Surface cleaning alone may not address a larger problem.
Do all moldy materials need to be removed?
No. Some hard surfaces may be cleaned and dried. Heavily affected porous materials can be difficult to clean completely and may need removal.
Is air testing always required after remediation?
No. Visual conditions, moisture control, removal of damaged materials, and the absence of musty odors are important factors. Sampling may be helpful in some situations but is not required for every project.
Can I paint after the mold abatement process is complete?
Yes, but only after you've properly cleaned and dried affected surfaces and corrected the moisture source. Painting over active growth is not an effective solution.
Can mold return after cleanup?
Yes, if moisture problems continue or new water damage develops. Controlling leaks, condensation, and excess humidity is important for long-term prevention.
Disclaimer: The information on this website and blog is for general informational purposes only and is not professional advice. We make no guarantees of accuracy or completeness. We disclaim all liability for errors, omissions, or reliance on this content. Always consult a qualified professional for specific guidance.
Search Blog
Recent Posts